Hi,
My name is Freeman. 😊 I joined Makerspace around May 2021.
My first experience with Makerspace was the open house which occurs three or four times a week. Mike, one of the members of the space, gave me a tour. I was impressed by all the cool projects on display and the excellent tools available.
One project caught my eye. It was a lonely wine glass nestled among the clutter of the vinyl cutting workstation. Tony, one of the Makerspace founders, had personally etched the glass himself by hand. I did not know I could etch glass with an off-the-shelf chemical and stencil.
Why is etching interesting to me?
Etching is beautiful to many people. It has the wow factor. I recently purchased an etched glass door from an artist in Tampa for my front door to make my home a little trendier and more upscale. I installed the door myself, and I am pleased with it, and so are the neighbors. The design on the door is of a kingfish jumping out of the ocean plus a little flying fishing bopping around.
Of course, I am a maker at heart, and whenever I look at something, I wonder, how do I make it?
I found it fascinating how an artist could join up with a door manufacturing company that takes care of all the red tape (hurricane wind requirements and building code) and make a beautiful product and a living at it. It seems like a fun thing to do.
I decided that I would become the etched glass expert at maker space. The space has four cutting printers available to work with many different materials and can make many things, such as stickers and stencils.
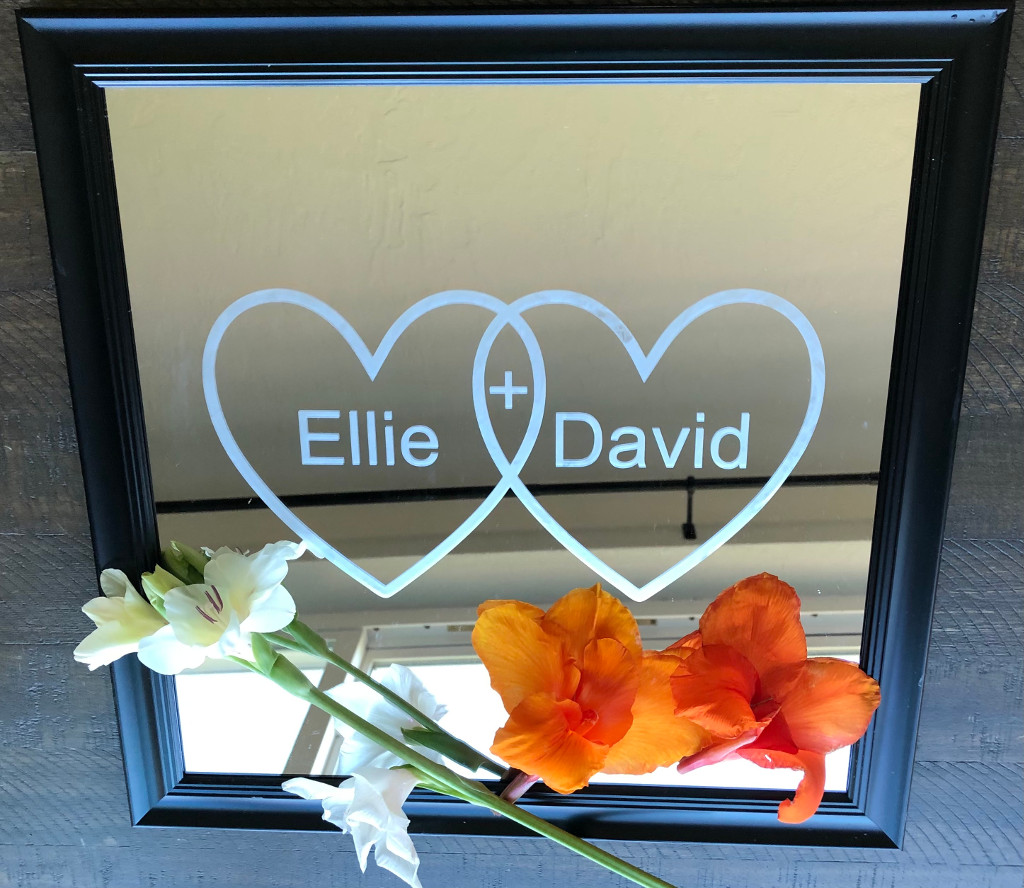
To learn to etch, I thought I would make an etched glass mirror for my sister. She is getting married in July 2021. If you see this post and know the couple, please keep it a secret until after July 2021. 😊
At a high level, the process to make etched glass goes something like this:
1) First, create a stencil. The cutter uses files in the .svg format. You can use the software at the space to make your own or purchase them.
2) Next, apply the stencil to the glass. It is best to use transfer paper when doing this. Applying the sticker to the glass is an art in itself—perfect alignment and no bubbles are the goals.
3) Next, apply blue painter’s tape on all exposed glass except the part you want to etch.
4) Next, apply Armour Etch using a paintbrush and work it in the exposed areas so no glass is left untouched. Note: Armour Etch is a nasty chemical to get on your body, so make sure to wear proper protective equipment. For example, use a face shield, long sleeve shirt and long pants, gloves. Read all safety instructions on the bottle, the website, and review the MSDS. Have an eyeglass wash nearby and water for rinsing it off you should you get it on you. Working outside is a good idea to avoid breathing fumes.
5) Next, after about one to three minutes, remove the etch with a squeegee and rinse off with water. Make sure all etch is off the project.
6) Finally, remove the stencil and painters’ tape and rinse the mirror again. Make sure all etch is off the glass.
There are many tricks to etching. The mirror in the picture is my second try at etching, so I have much to learn about etching. I look forward to learning more about etching in the future at the space.
Are you interested in giving glass etching a try? Drop by a public open house and say hello.